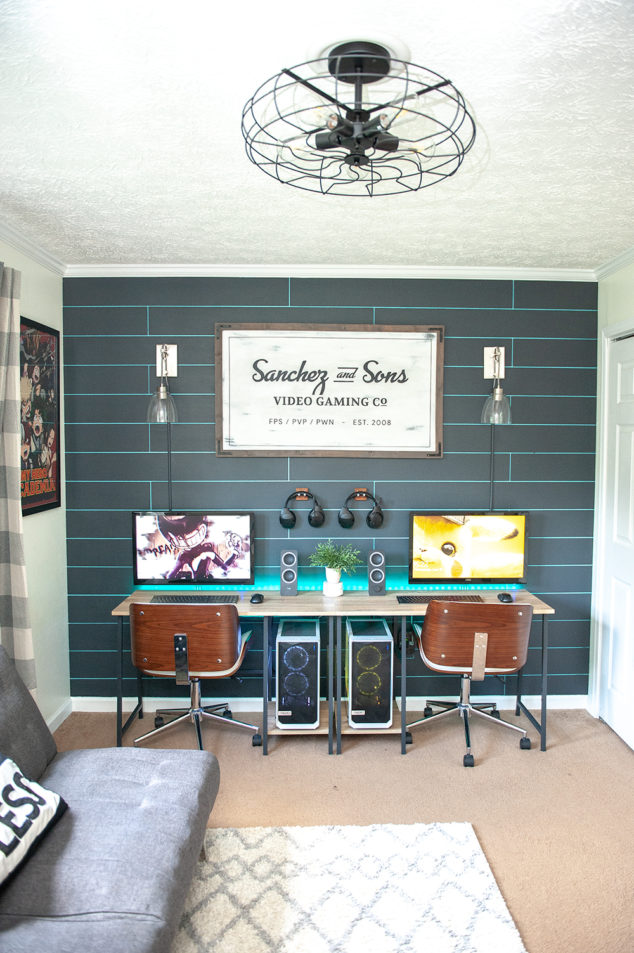
Hi everyone, I know it’s been awhile since I posted something new on the blog! But I wanted to share this DIY sign I made for my boys Game Room. We actually made it during Covid when we were all stuck in the house. The game room was a covid project to keep us busy.
We wanted to make a fun space for them to play their games, watch tv and just hang out together. I know I wanted a make a big personalized sign for their game room to put right in the middle of the focal wall. So my husband and me came up with the design together, and I made it. I’ll show you how easy it is to make one of your own!
Let’s get started!
Game Room Sign Supplies Needed:
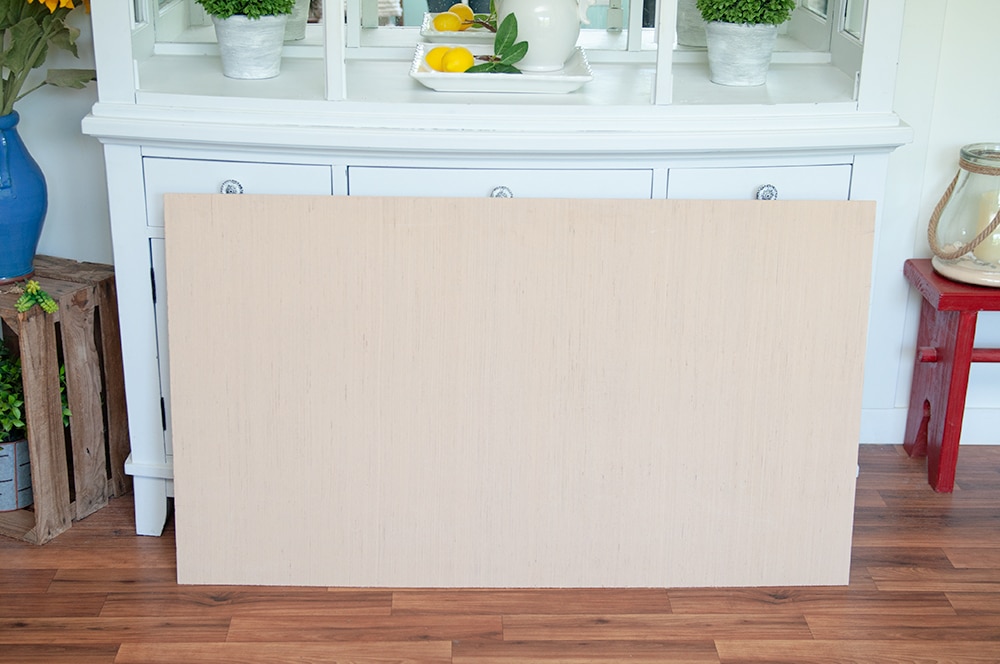
Step 1 – Cut Board
Measure the size you need first. Cut the wood to size. I had to trim the wood to the size I needed for the space. This ended up being a pretty big sign.
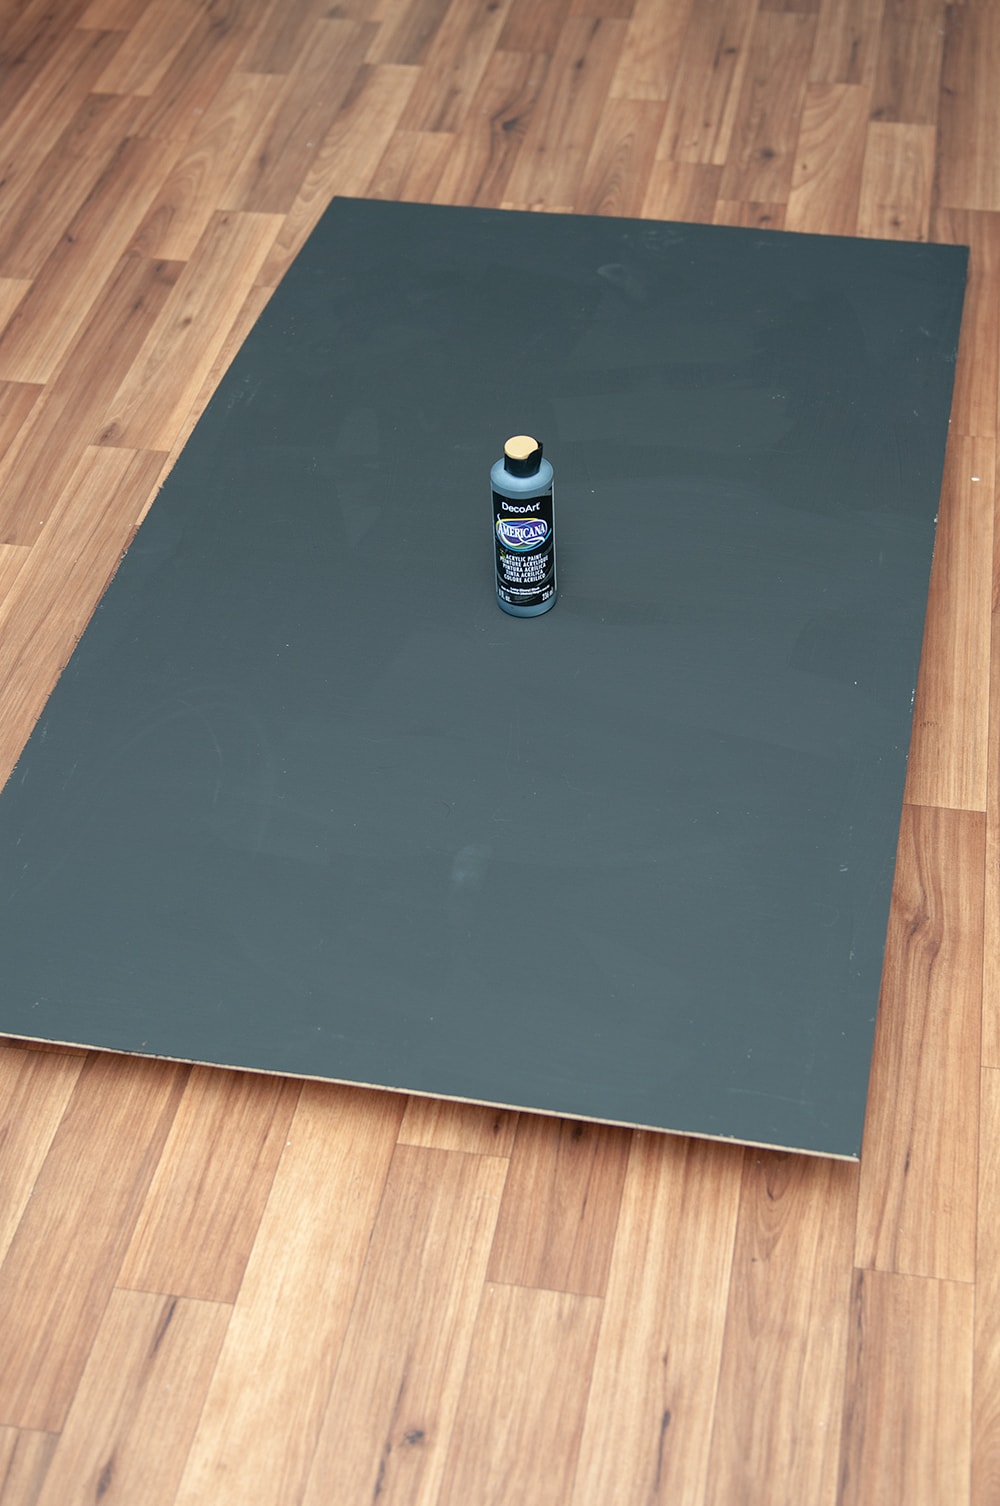
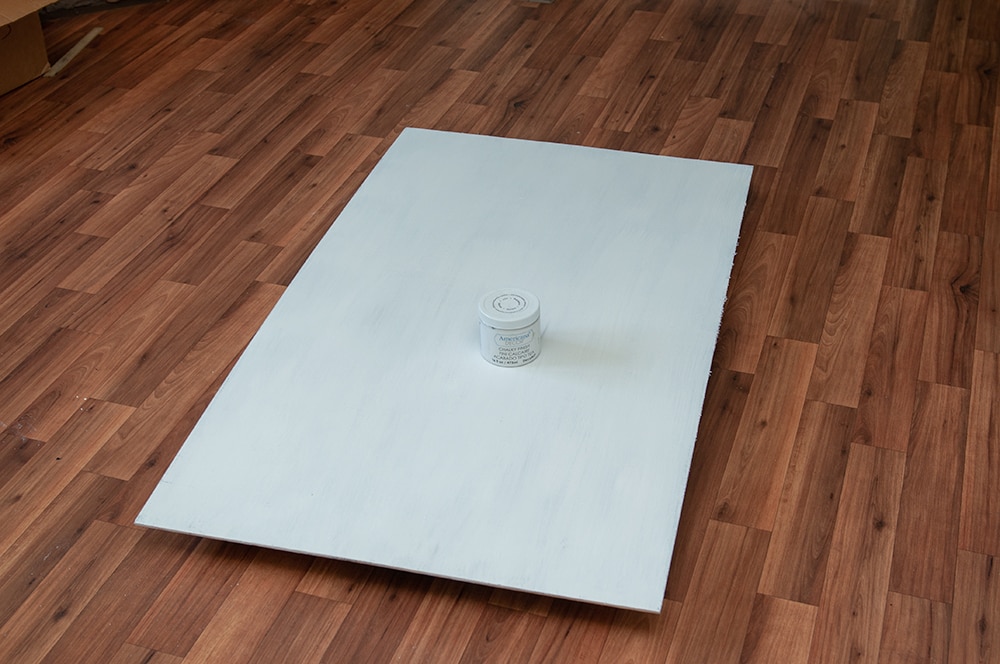
Step 2 – Paint Board
Paint the board solid black first. I added two coats of black paint, letting each coat dry 20 minutes.
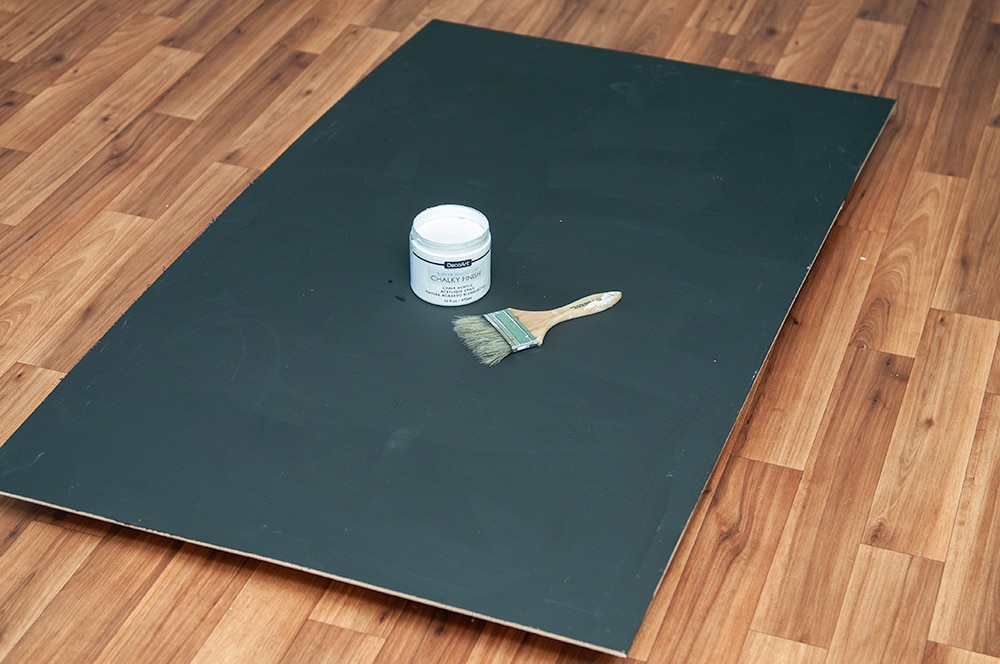
Once the black paint is dry add two coats of white chalk paint.
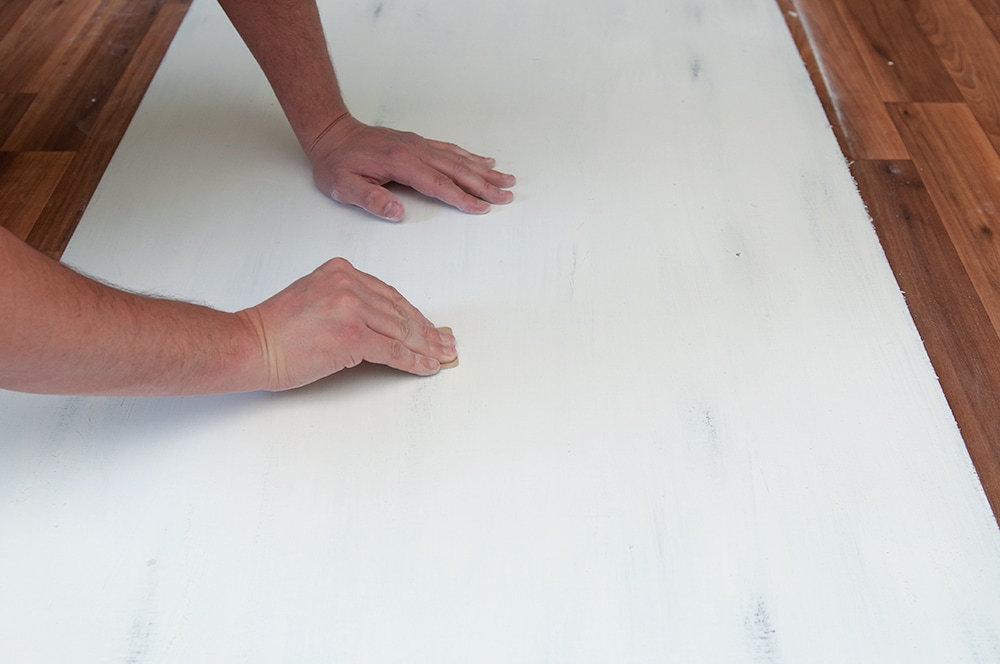
Step 3 – Distress Board
After the chalk paint is dry I went over the entire board with sandpaper to give the sign a distressed look.
Step 4 – Stain Boards
I got 1×1 boards at Lowes to use as a frame for my sign. Stain your boards, I used Rustoleum stain. Only one coat was needed, and I let dry 2 hours.
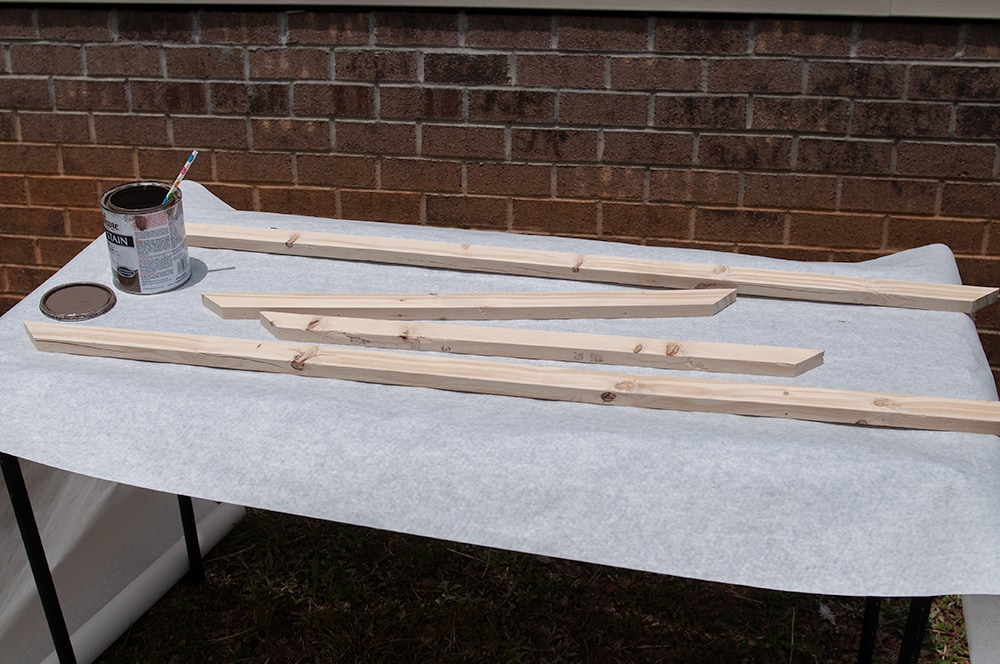
You can wipe away any excess stain once the boards have dried.
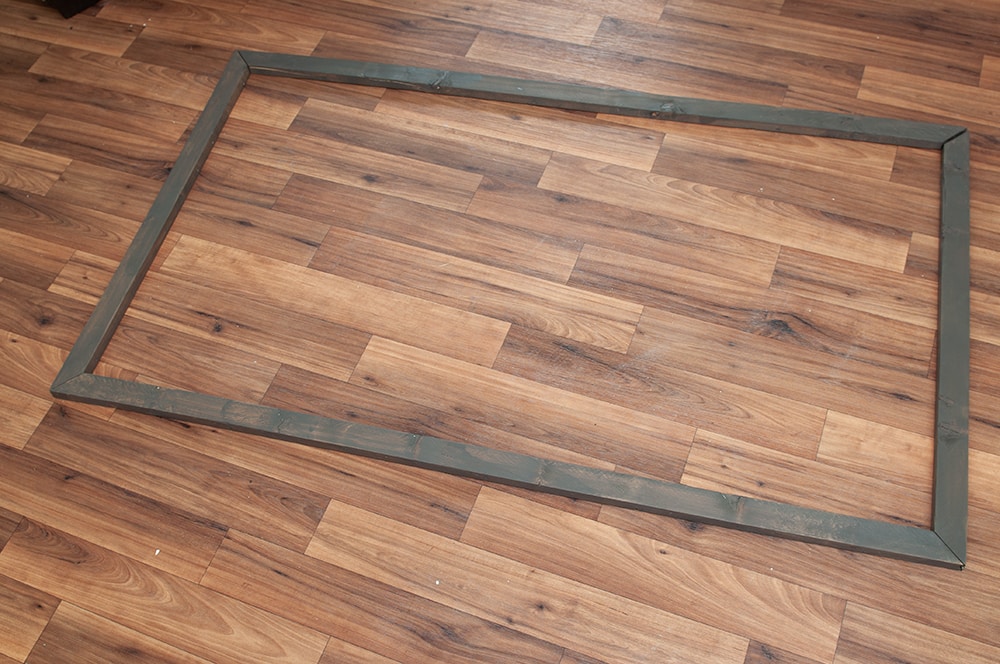
I did not get pictures of this process, which I regret. I used an L shaped bracket to create my frame. I think it also gave it that vintage look I was going for as well.
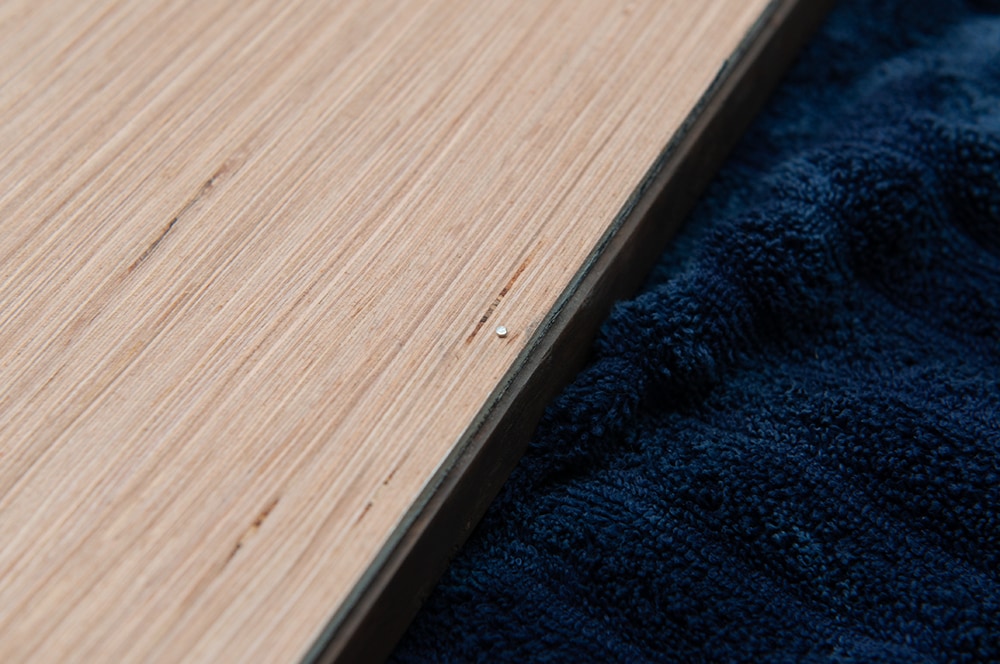
Step 5 – Put Sign Together
I found mini nails to attached the wooden board to the frame.
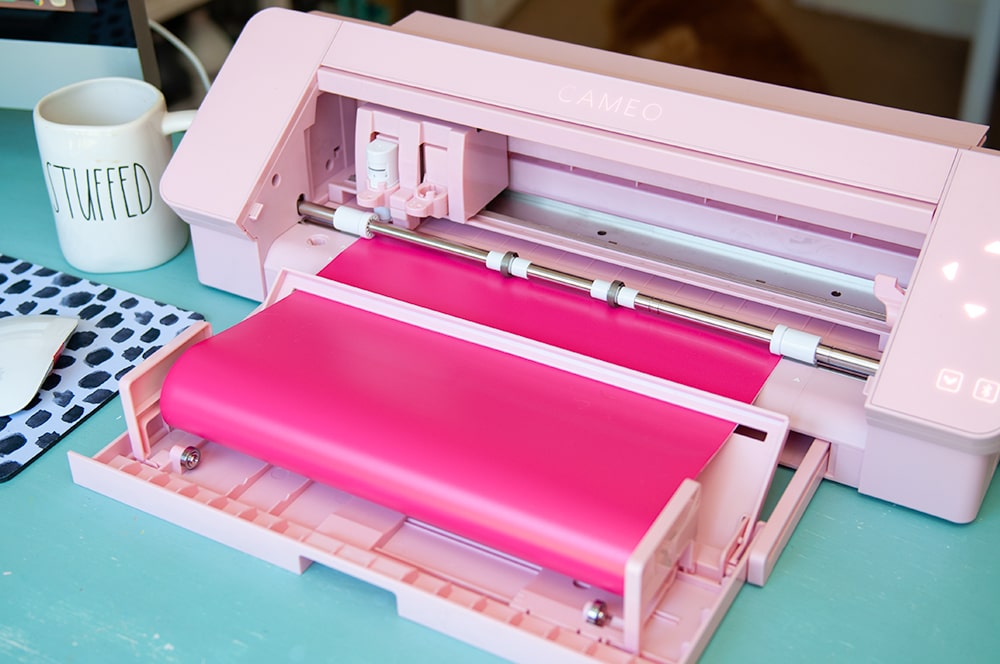
Step 6 – Print Stencil
Now it’s time to design and cut the stencil!
I created my design in Silhouette Studio.
Since the sign was so big I had to cut the stencil in three different sections.
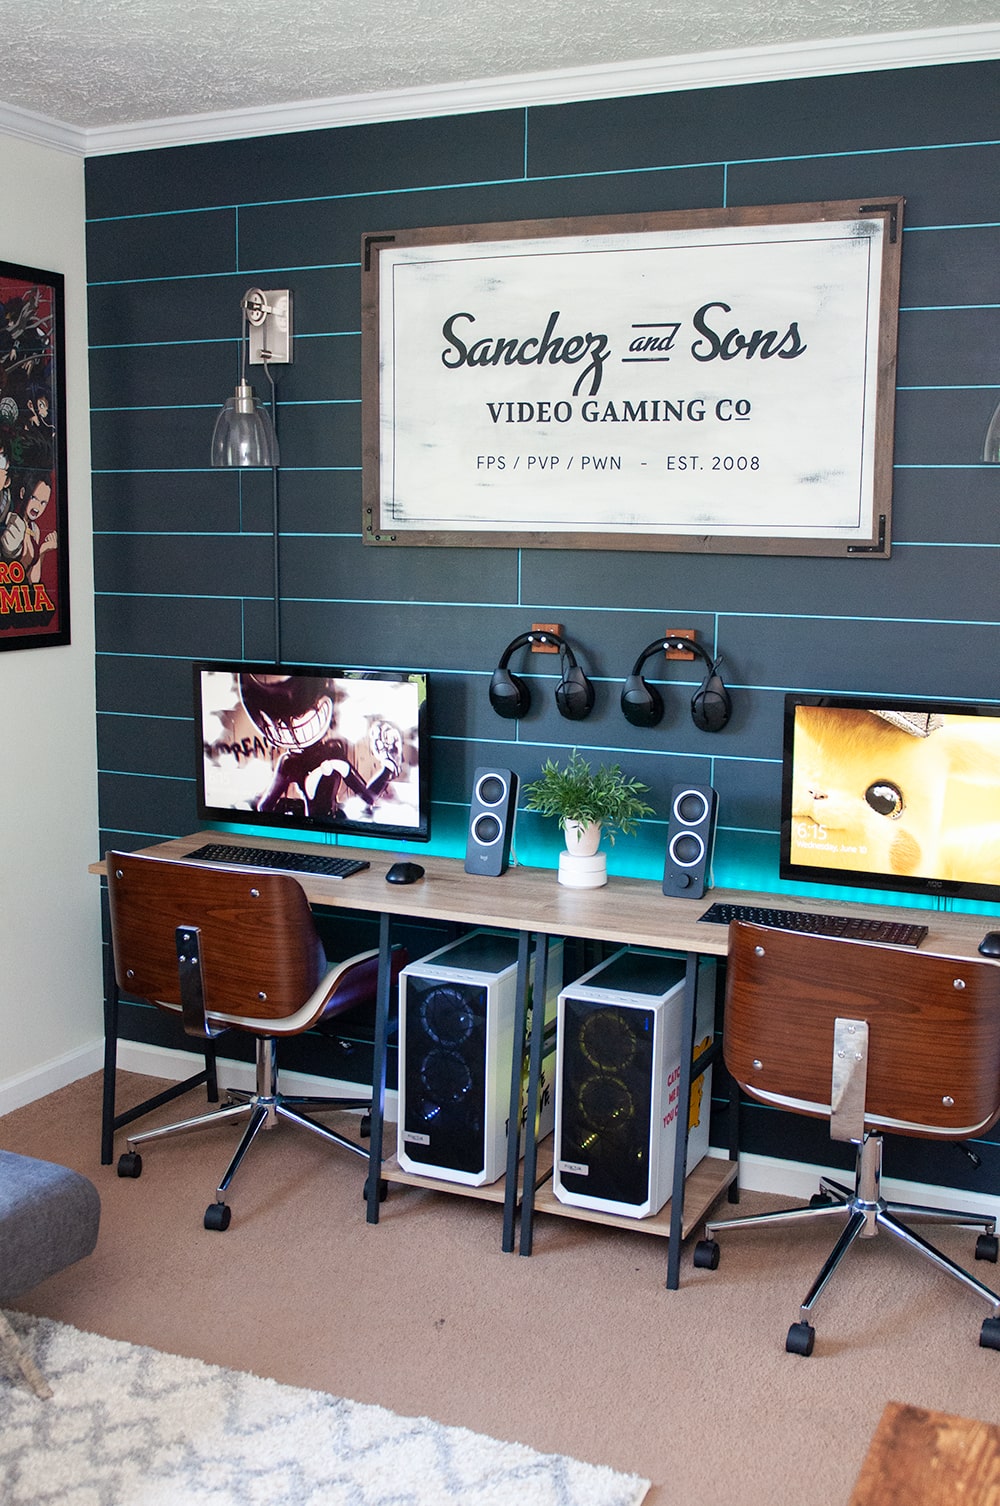
We knew it was going in the boys game room and I wanted it to represent them. So me and my husband came up with the design together. We wanted a vintage looking sign for the space.

Once the stencil was cut I weeded it.
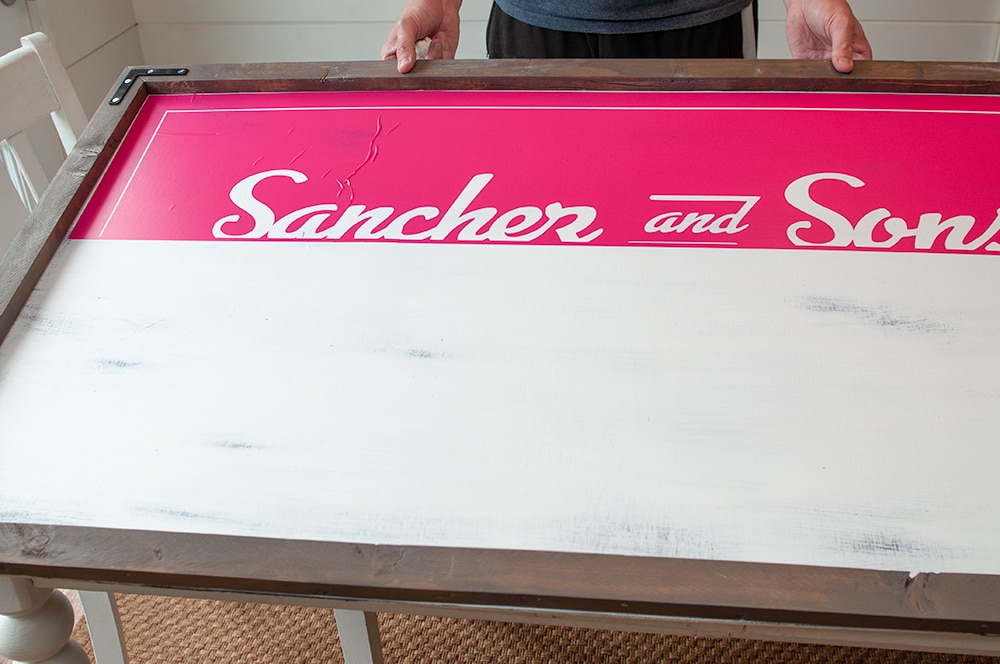
Step 7 – Add Stencil
Once I weeded the stencil I used transfer paper to add the stencil to the wood.
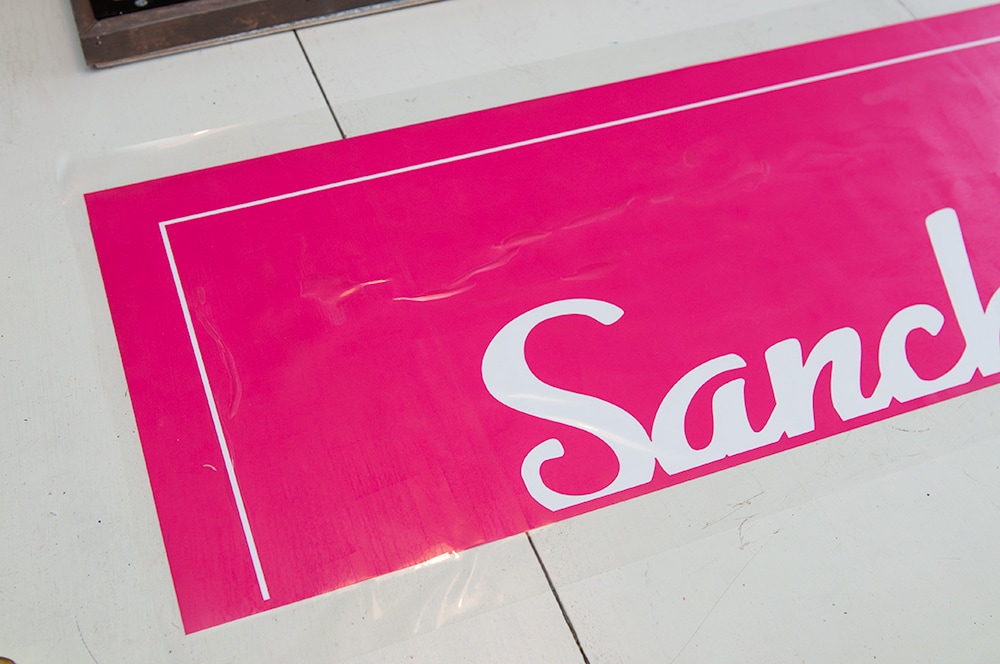
I added one section at a time to the board.
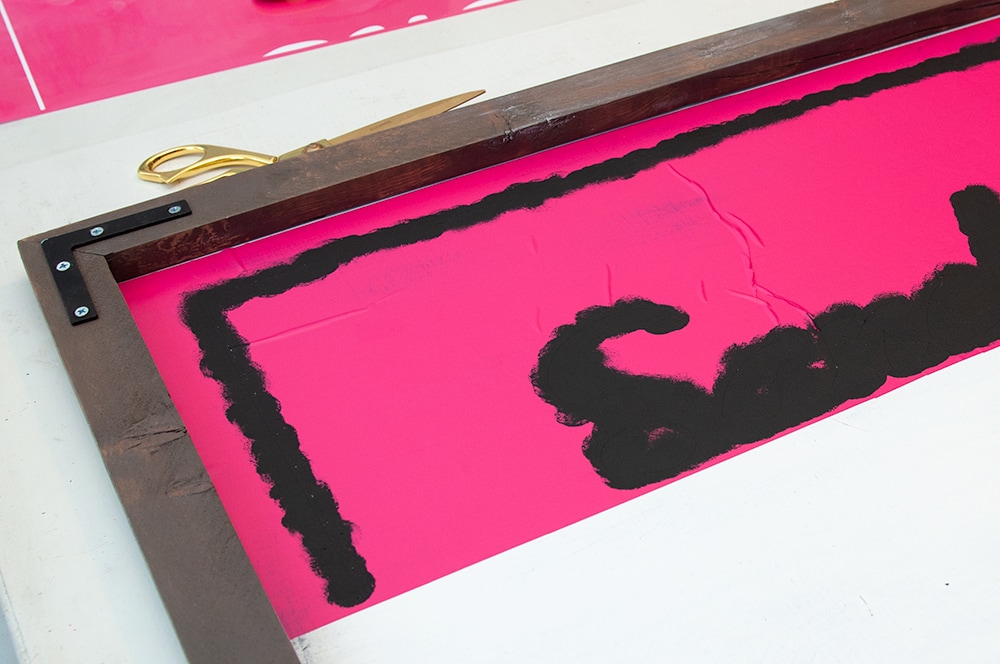
Step 8 – Paint in Stencil
When filling in the stencil, I used a flat sponge brush. I did three coats, and letting each coat dry 15 minutes.
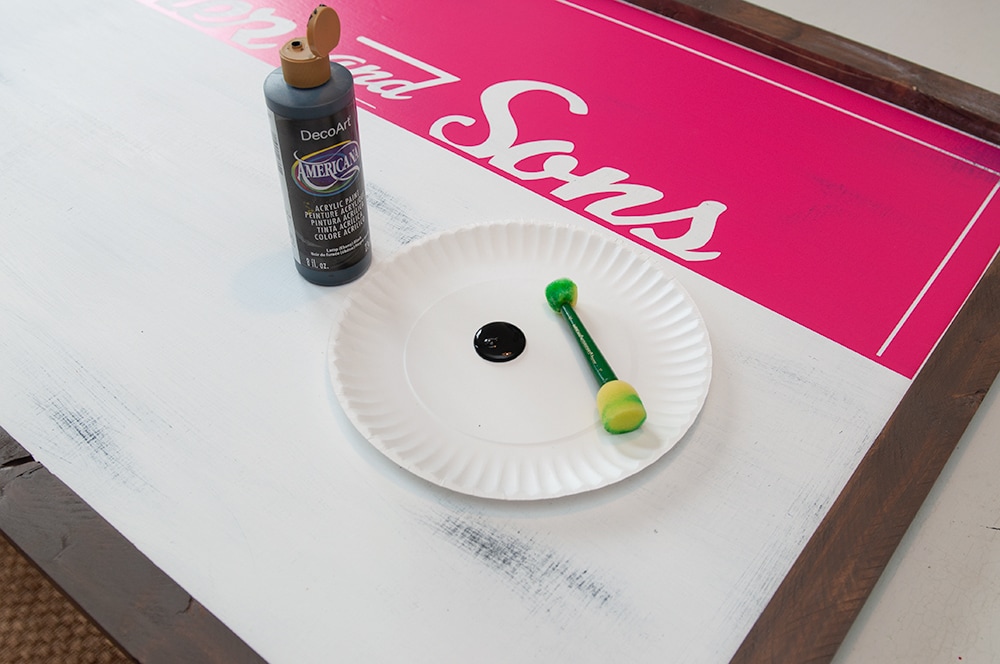
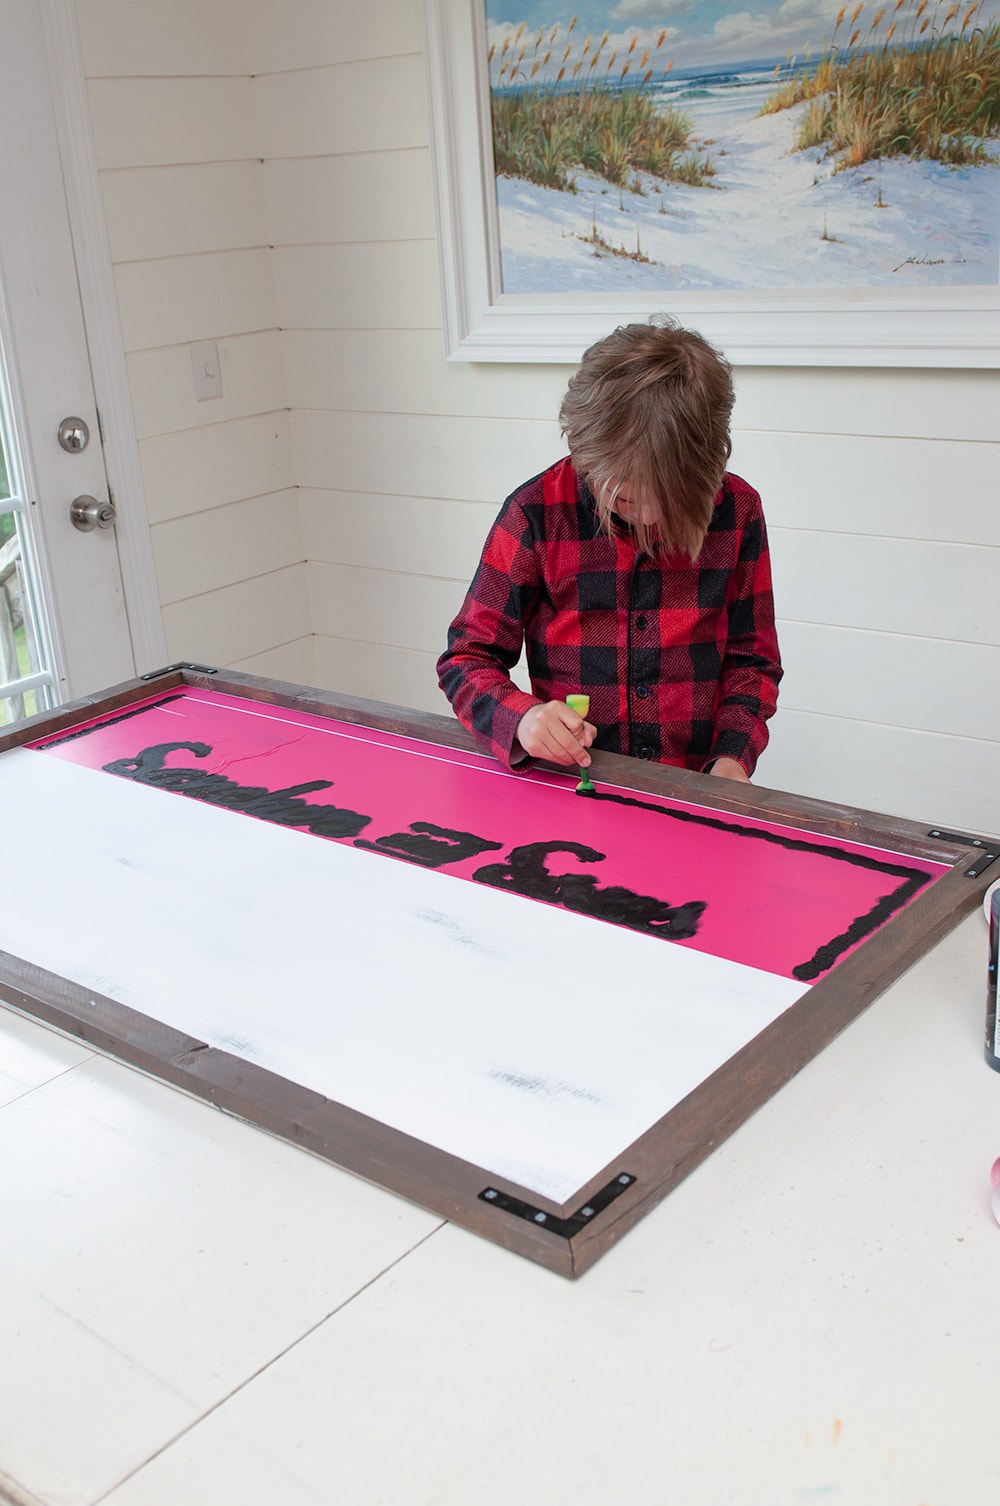
It’s so easy to do that even my 8 year old filled in the stencil for me.
Once the three coats dried, I peeled up the first stencil and added the second one. 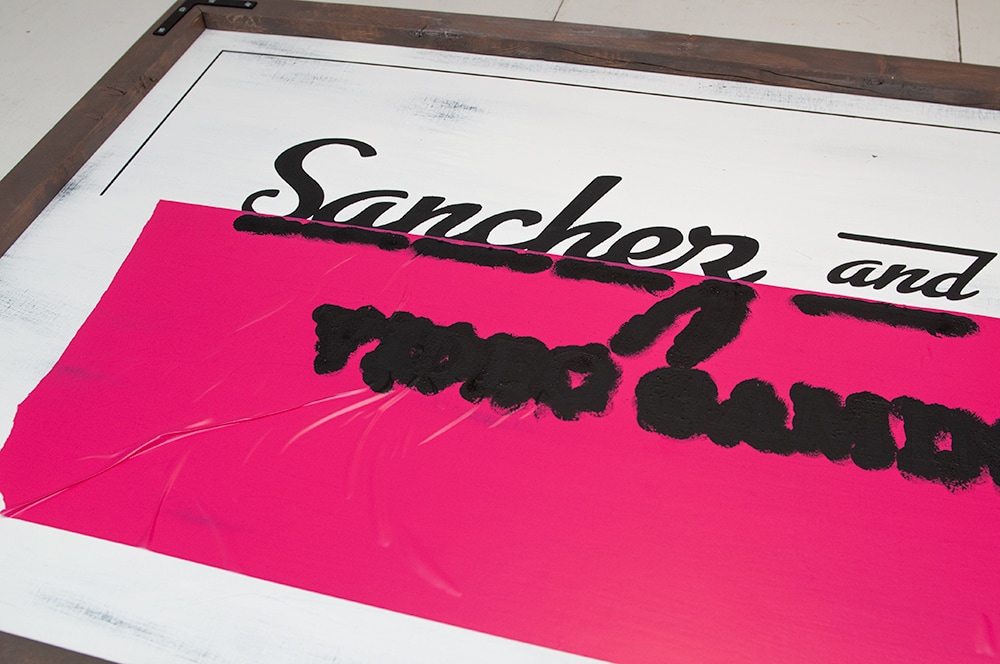
I repeated the process with all three stencils. 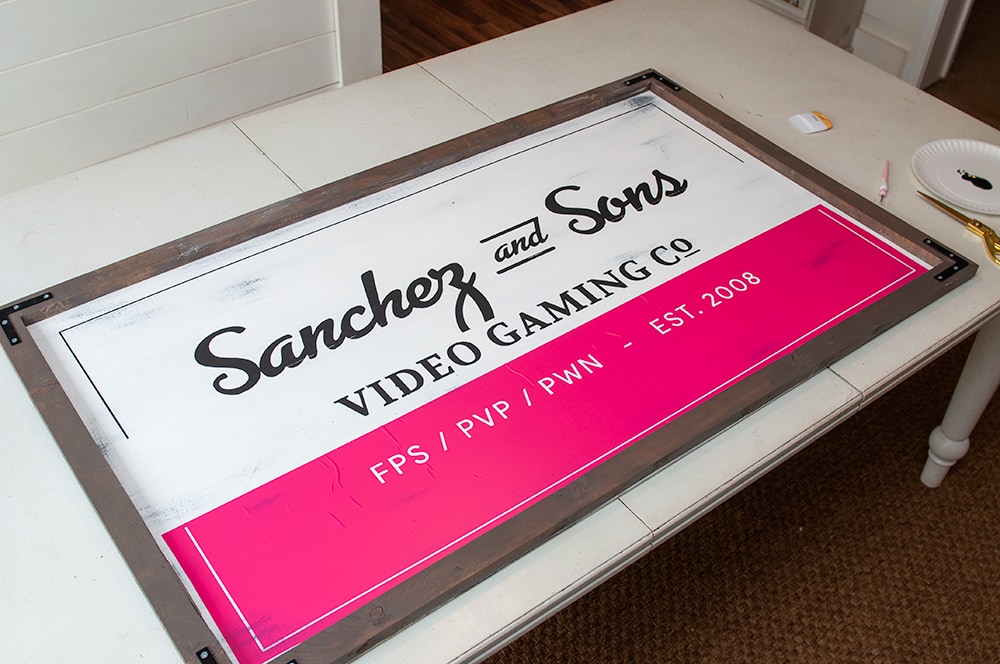
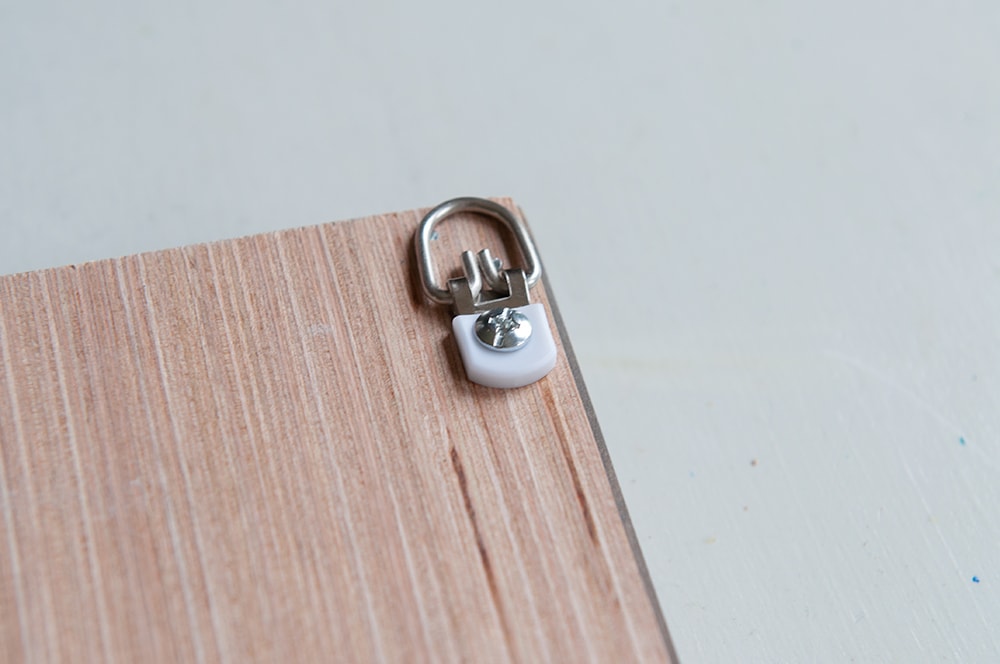
Step 9 – Add Hooks
To finish up the sign I added hooks on the back so that we are able to hang up the sign easily.
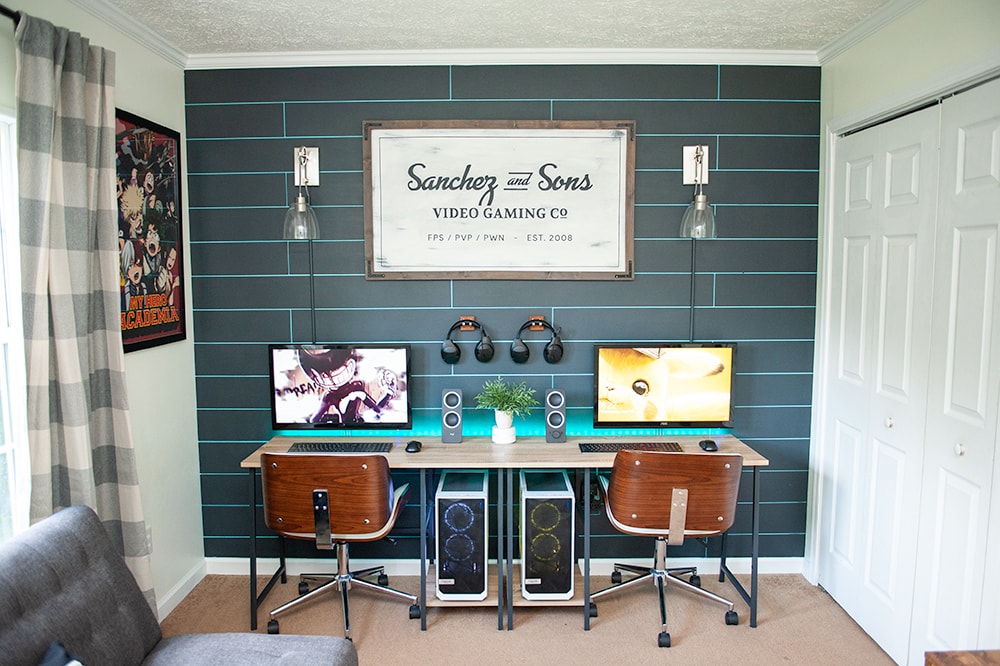
Finishing Touches
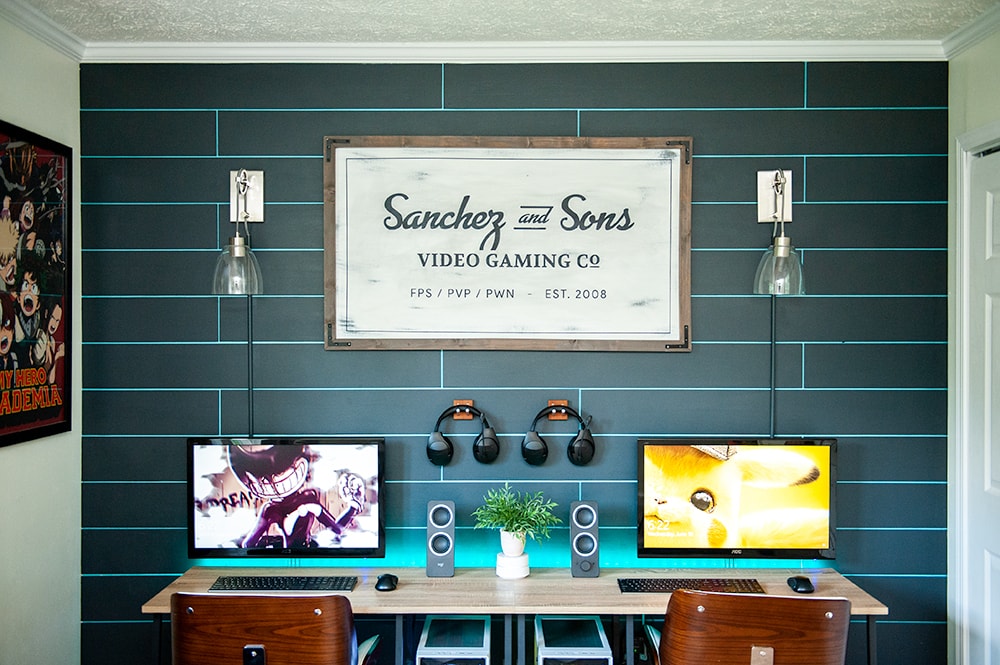
Once done you can hang it up on the wall!! So what do you think??! I love how it turned out!
This is a piece we can have for a long time.

I love working on DIY signs and I have made many on the blog over the years.
I hope this sign can be a great inspiration for you to make one of your own! It turned out perfect for the boys game room.
Thanks for stopping by and checking out my latest project. If you have anymore questions on how the sign was made, please don’t hesitate to ask! I would love to help in anywhere so you can make a sign on your own!
More DIY Signs
- DIY Beach Sign
- Farmhouse LOVE Sign
- Hello Fall Sign
- Vintage Halloween Sign
- DIY Easter Sign
- Spring Flower Shop Sign
Love, Courtney