Crafts by Courtney

How-to Crafts and DIY Parties

  • Home
  • How-to Crafts
    • Home Crafts
      • Holiday
      • Seasonal
      • DIY Decor
    • Kids Crafts
      • Holiday
      • Seasonal
      • Educational
      • Clean
      • Messy
  • DIY Parties
    • Birthdays
    • Just for Fun
    • Holidays
  • Blog
    • My Thoughts
    • Hubby’s Corner
  • About
  • Contact

DIY Dollar Tree Makeover: Turn Clipboards Into Decorative Frames

Dollar Tree clipboard makeover craft

While looking through my crafting stash, I found a few clipboards AND inspiration for a new craft! I’ve been wanting to do a clipboard craft for AWHILE now, but only had 3 clipboards…

On the next day, I went to three DIFFERENT Dollar Trees and was super excited when I finally found clipboards at the last store (I was LITERALLY doing a happy dance in the store). So excited!!

I was LITERALLY doing a happy dance in the store…

Thanks goodness I have LOTS of Dollar Trees near me. When I got home, I rounded up my supplies and began my NEW (naptime) project for the day!

Clipboard Supplies Needed:

  • Clipboards
  • White Spray Paint
  • Acrylic Paint
  • Painters Tape
  • Gold Leafing Pen
  • Foam Brush

Getting Started

I had all the supplies on hand (except clipboards) to get started.

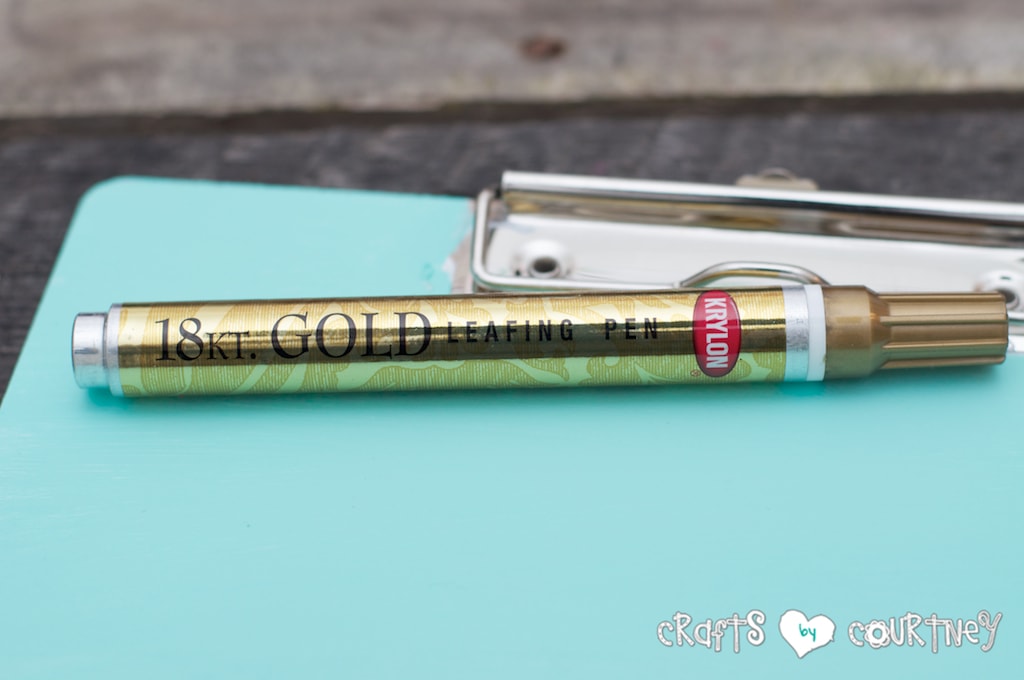
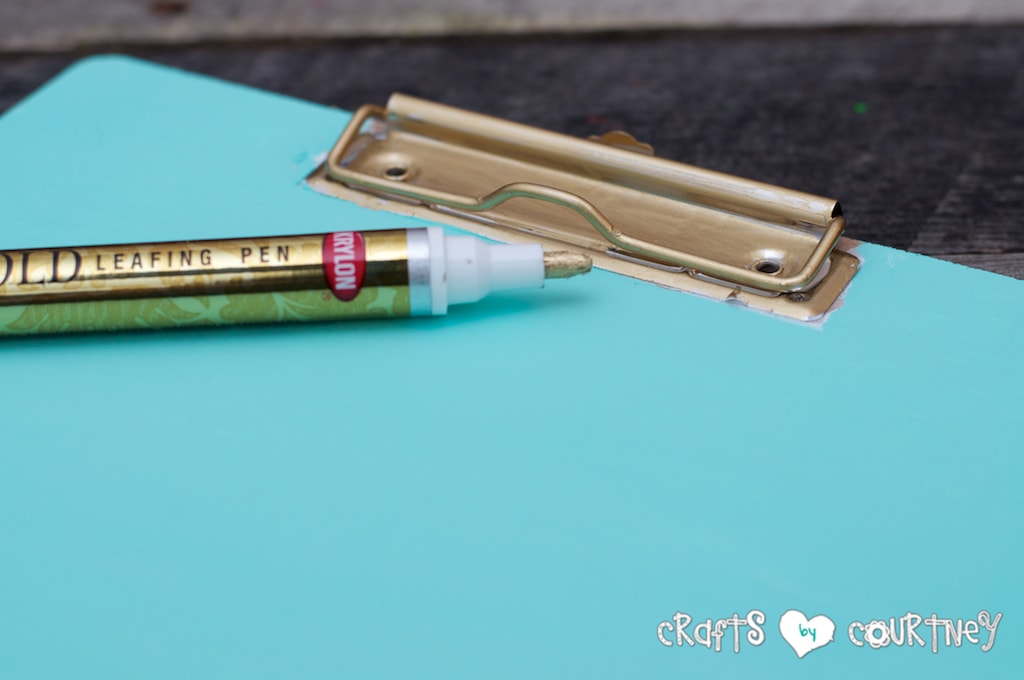
I used one of my FAVORITE colors (turquoise) for the clipboard itself. As for the accent color, I chose gold (which I used my “Handy Dandy” gold leaf pen for that).

DIY Dollar Tree Makeover: Turn Clipboards Into Decorative Frames: Getting Started

The white vinyl and hole punch AREN’T shown above. They were last minute add ons!

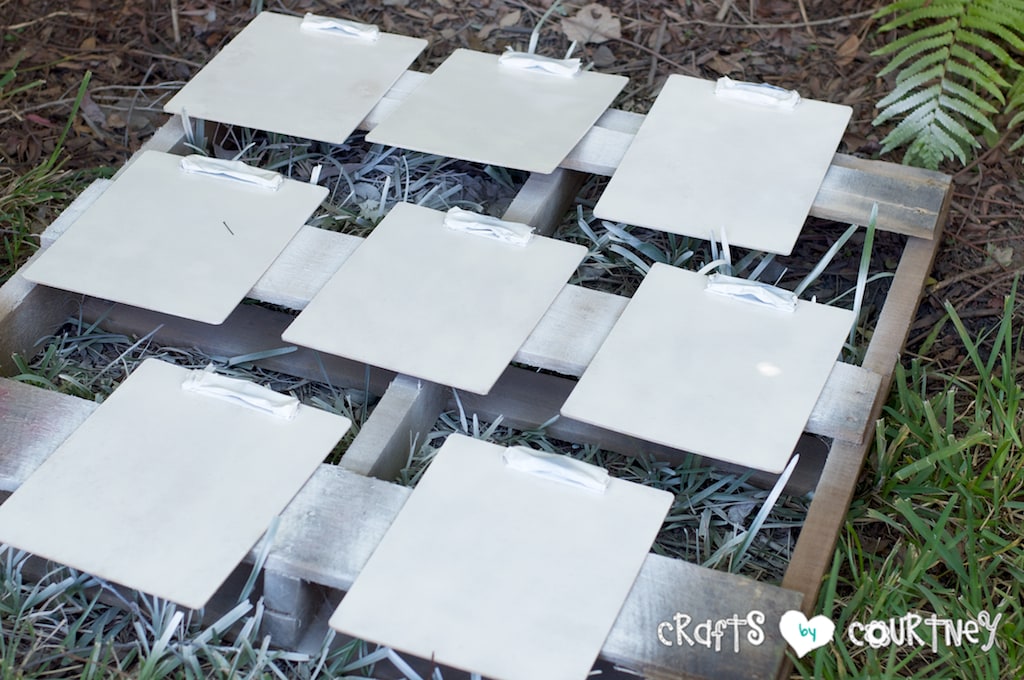
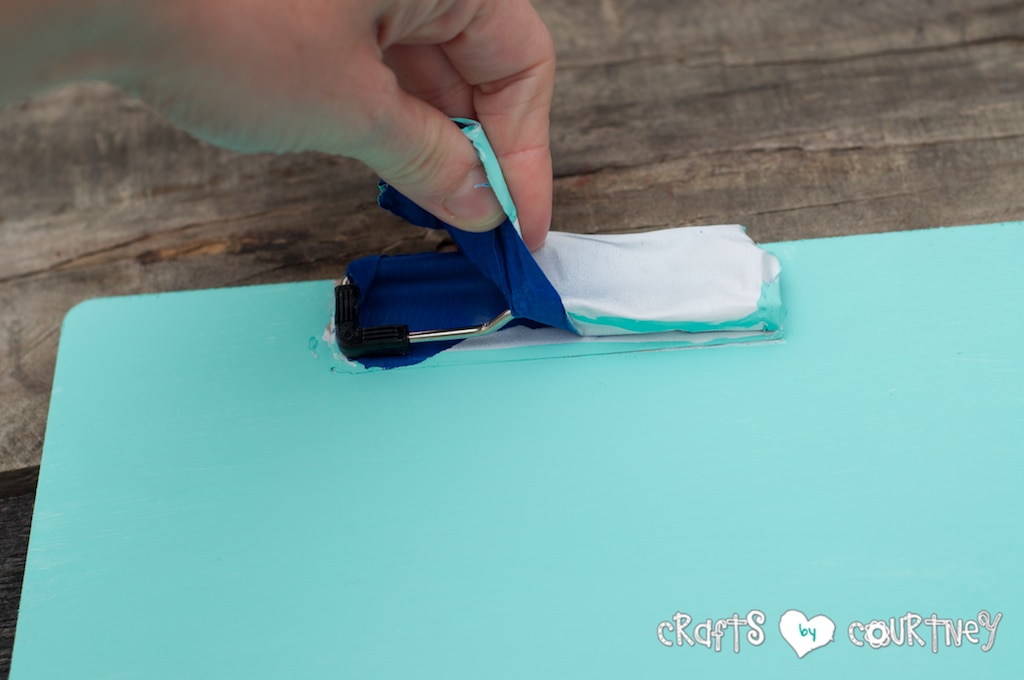
Step 1 – Tape Off Your Metal Clips

Since I want to paint the clip GOLD, I taped off the metal clip part with painter’s tape (to protect it from spray paint).

DIY Dollar Tree Makeover: Turn Clipboards Into Decorative Frames: Tape off Your Metal Clips

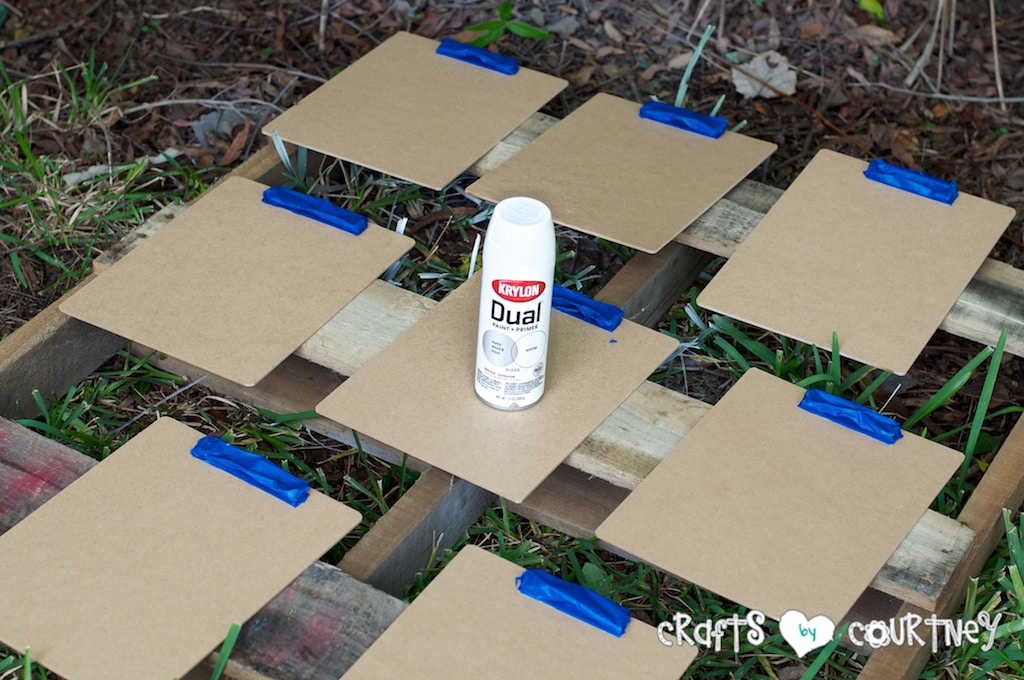
Step 2 – Prime Clipboards With Spray Paint

I sprayed painted ALL the clipboards with two coats of white spray paint (using it as a primer for the actual paint color). I let dry for an HOUR or so.

DIY Dollar Tree Makeover: Turn Clipboards Into Decorative Frames: Spray Painted Clipboards

My poor grass has spray paint spots all over it.

DIY Dollar Tree Makeover: Turn Clipboards Into Decorative Frames: Spray Paint Your Clipboards

Step 3 – Paint Your Clipboards

Once the primer was DRY, I went over the clipboards with two coats of my paint color (using a foam brush). I let the FIRST coat dry for 20 minutes before adding my second coat of paint.

DIY Dollar Tree Makeover: Turn Clipboards Into Decorative Frames: Paint Your Clipboards

I am loving the turquoise color here!!

Side Note: If you LOVE turquoise, check out my inspiration board makeover and Christmas advent calendar craft tutorials!

Step 4 – Prep Metal Clips for Gold Leafing

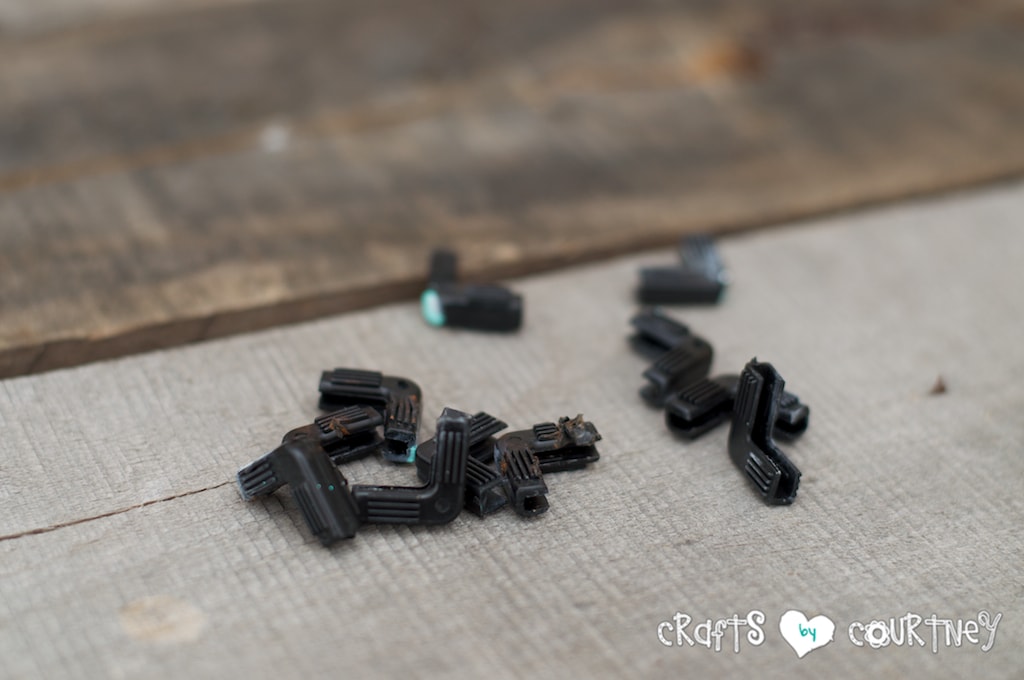
I removed my painter’s tape and took off all the little plastic pieces from the clipboards.

Some were NOT-AS-EASY to remove, so I had to pull out the big guns (my pliers) to remove them. See I’m a hardcore crafter, I have tools!!

DIY Dollar Tree Makeover: Turn Clipboards Into Decorative Frames

DIY Dollar Tree Makeover: Turn Clipboards Into Decorative Frames: Remove Plastic Clips

DIY Dollar Tree Makeover: Turn Clipboards Into Decorative Frames

DIY Dollar Tree Makeover: Turn Clipboards Into Decorative Frames: Remove Your Painters Tape

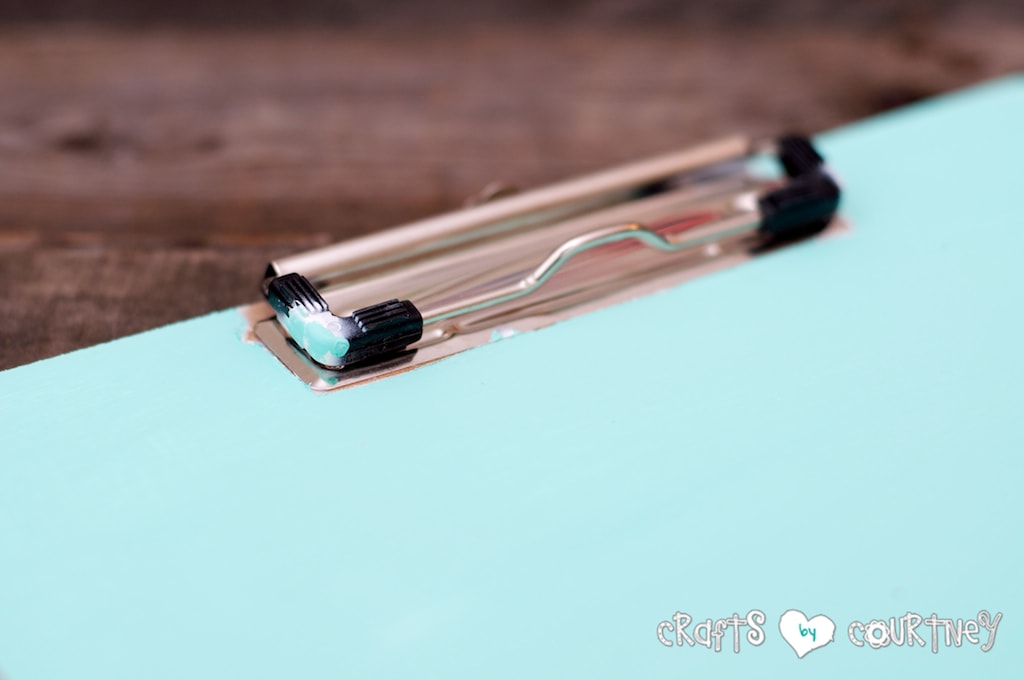
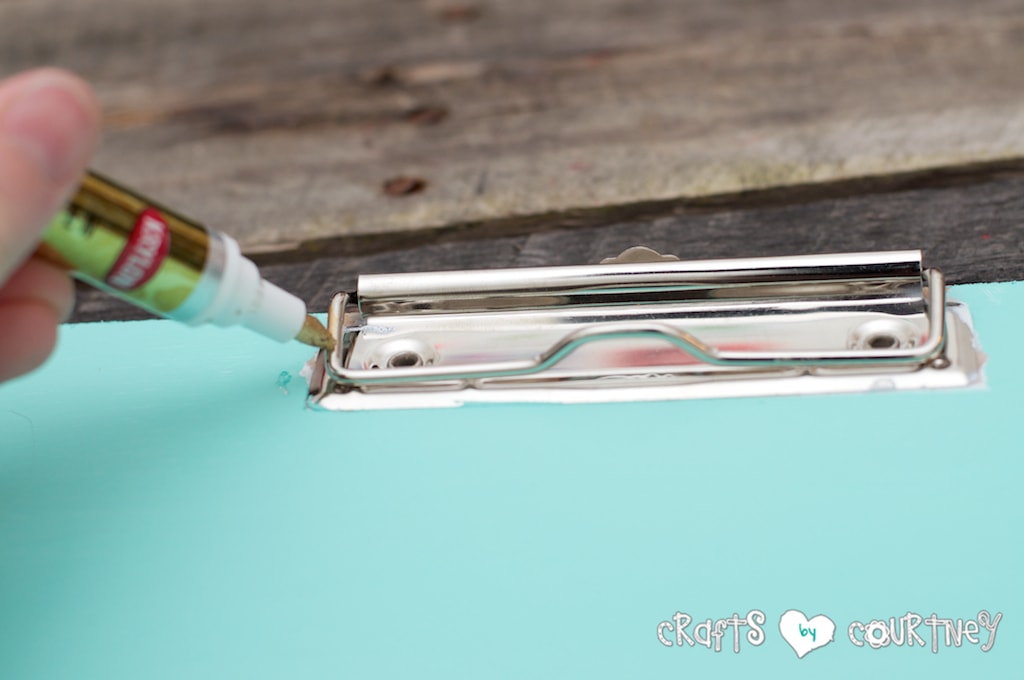
Step 5 – Add Gold Leafing to Metal Clips

Now I’m READY to add my gold leafing! I went over the entire area with my pen (letting DRY for 10 minutes).

This part was super easy…but I had 9 clipboards to do!

DIY Dollar Tree Makeover: Turn Clipboards Into Decorative Frames: Add Your Gold Leafing

DIY Dollar Tree Makeover: Turn Clipboards Into Decorative Frames: Paint on Your Gold Leafing

DIY Dollar Tree Makeover: Turn Clipboards Into Decorative Frames: Finish Your Gold Leafing

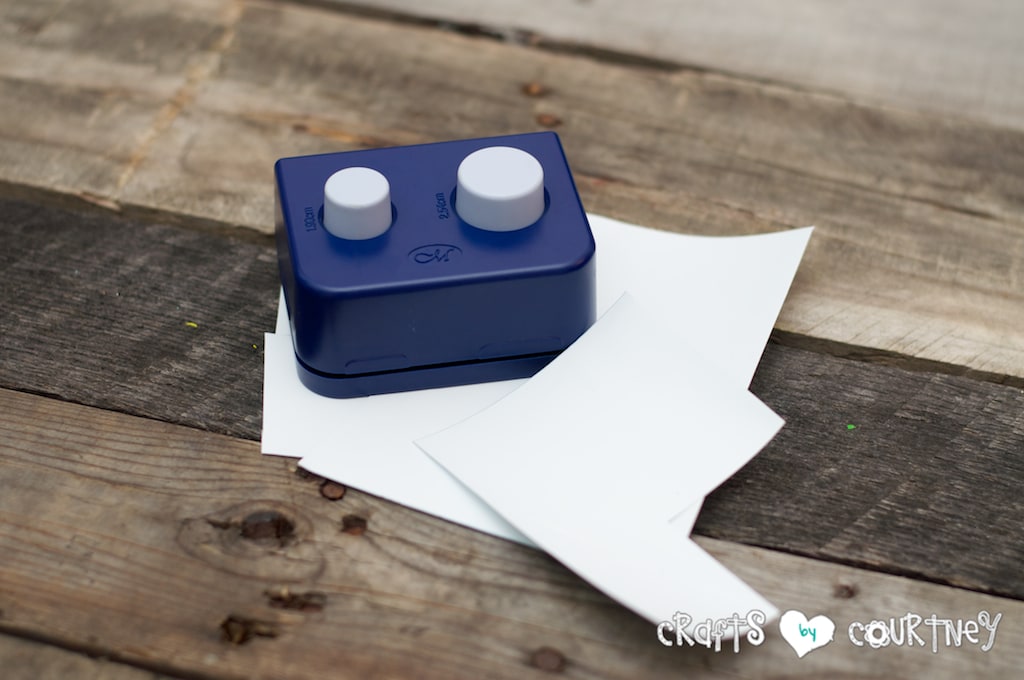
Step 6 – Add Your Polka Dots

After I added my gold leafing, I wanted to do something EXTRA to my clipboards. I thought, why not add polka dots!?!? I LOVE polka dots.

…I wanted to do something EXTRA to my clipboards.

I pulled out my “Trusty” hole punch and some WHITE vinyl to make my polka dots. I thought vinyl would work best (in case I wanted to change the look later).

DIY Dollar Tree Makeover: Turn Clipboards Into Decorative Frames: Punch Your Polka Dots

DIY Dollar Tree Makeover: Turn Clipboards Into Decorative Frames: Dot Pucnches

DIY Dollar Tree Makeover: Turn Clipboards Into Decorative Frames: Polka Dots

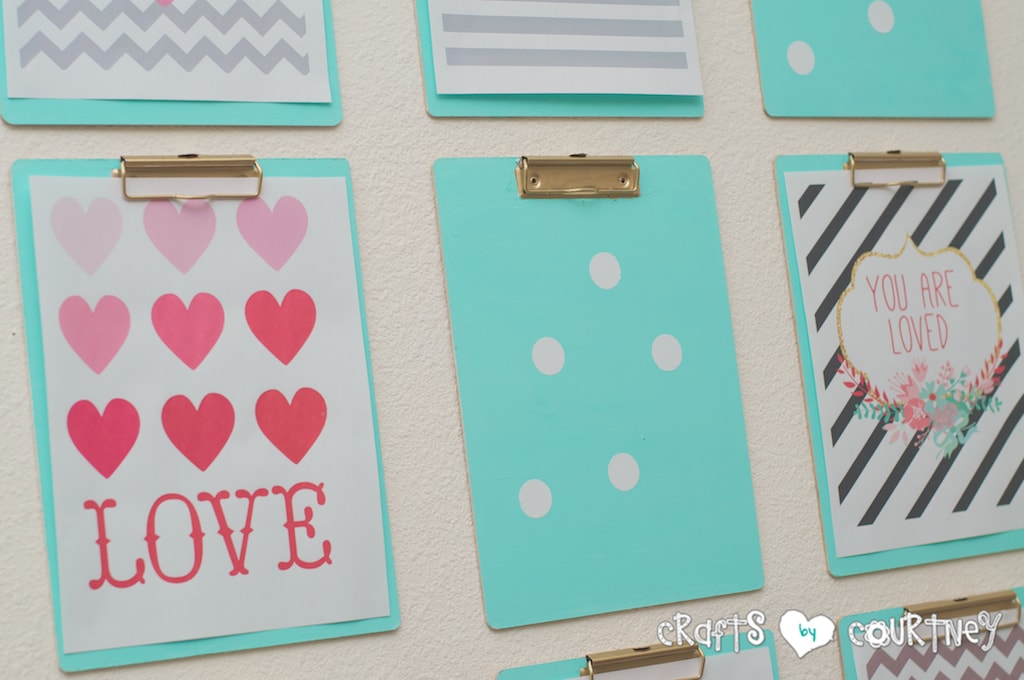
Step 7 – Finishing Touches

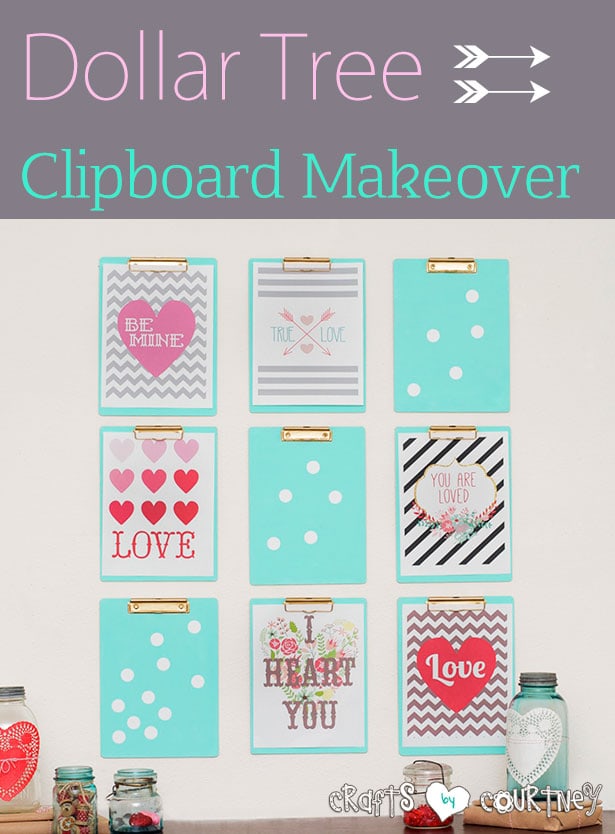
Since I’m writing this post during Valentine’s Day, I added some super cute Valentine printables from SohoSonnet.

I can’t wait to start changing out the clipboards for ALL the holidays!! I wonder how I’ll decorate them for Halloween and Christmas?!?

DIY Dollar Tree Clipboard Project: Turn Clipboards Into Decorative Frames

These clipboards were SUPER-EASY to make and will be a crucial part of my home decorating this year! I had them ALL done in no-time.

I think finding the clipboards took the LONGEST time!

More Wall Art Ideas

  • Succulent Wall Art
  • Starfish Wall Art
  • Vintage Beach Sign
  • Coastal Wall Art

Love, Courtney

About Courtney Sanchez

Hi, I'm Courtney and I LOVE crafting! I am a mommy to 3 awesome boys (who keep me very busy) and wife to a loving husband. Crafts by Courtney is where I like to hang out ;)

Leave a Reply

Courtney Sanchez

Hi, I'm Courtney!

Welcome. Here is where I share the fun how-to crafts I've done with my kids and for my home. I also really love DIY parties too! Read More…

My Socials

  • Facebook
  • Instagram
  • Pinterest

Newsletter

Subscribe to my email newsletter for more craft ideas, tips and valuable resources.

The TOP 4

  • DIY Robot Costume with Duck Tape®DIY Robot Costume with Duck Tape®
  • STEM Project Idea: How to Make a DIY Popsicle Stick CatapultSTEM Project Idea: How to Make a DIY Popsicle Stick Catapult
  • Create a Colorful Glitter and Gel Sensory BagCreate a Colorful Glitter and Gel Sensory Bag
  • Brotherly Playdate at Lake James: A Nature Park Scavenger HuntBrotherly Playdate at Lake James: A Nature Park…

Looking for more?

Over on Instagram

Follow on Instagram

Who I Work With

Crafts by Courtney   ·   Copyright © 2013 - 2026